Wednesday, January 26, 2011

CropStop Challenge #3 Square plus a Die Cut

I'm back again with a submission for CropStop's Challenge #3, which is to make a square card and use a die cut on it. How easy is that!

I've been wanting to make those cute, paper corner bookmarks that I've been seeing everywhere, and decided two is better than one, right? I made two corner bookmarks from this tutorial and added them to the top corners of my card.

Originally, I was going to leave the card pretty plain because I wanted to show off these AWESOME papers from the Close To My Heart "Wings" Workshop on the Go (G1016). It's not a color combo I would generally put together (sweet leaf green, twilight blue, vineyard berry, and black), but I LOVE it! Then I decided I needed to put some dp in the corners so when the bookmarks are in use the card isn't completely bare.

Here's my card with the bookmarks on:

I used Spellbinder's Nestabilities Label 10 and cut the frame from Vineyard Berry Cardstock (CTMH). I then put popdots behind the frame to give it some dimension. The word "DREAM," and also the sentiment on the bookmarks came from the same CTMH stamp set, Dreams Come True (D1470).

I stamped DREAM directly onto the green dp and then went over it with a black Sakura Glaze pen. It gives it a shiny, embossed look. I did have to go over the word a few times with the glaze pen (the ink tends to soak into the paper so it takes a few layers and a little bit of patience). I was trying to avoid the mess of pulling out the black embossing powder, but it probably would have been quicker to just emboss it.

I used Tilda with 3 Flowers. She's colored with Copics and some chalk. I added stickles to the lacy parts of her dress and also to the flowers. I actually had her colored up sometime last year. Since she matched my card, I added her (definitely helps to have some images colored up ahead of time). She's raised up on popdots too.

Here's a side view (without the bookmarks) so you can see the dimension:

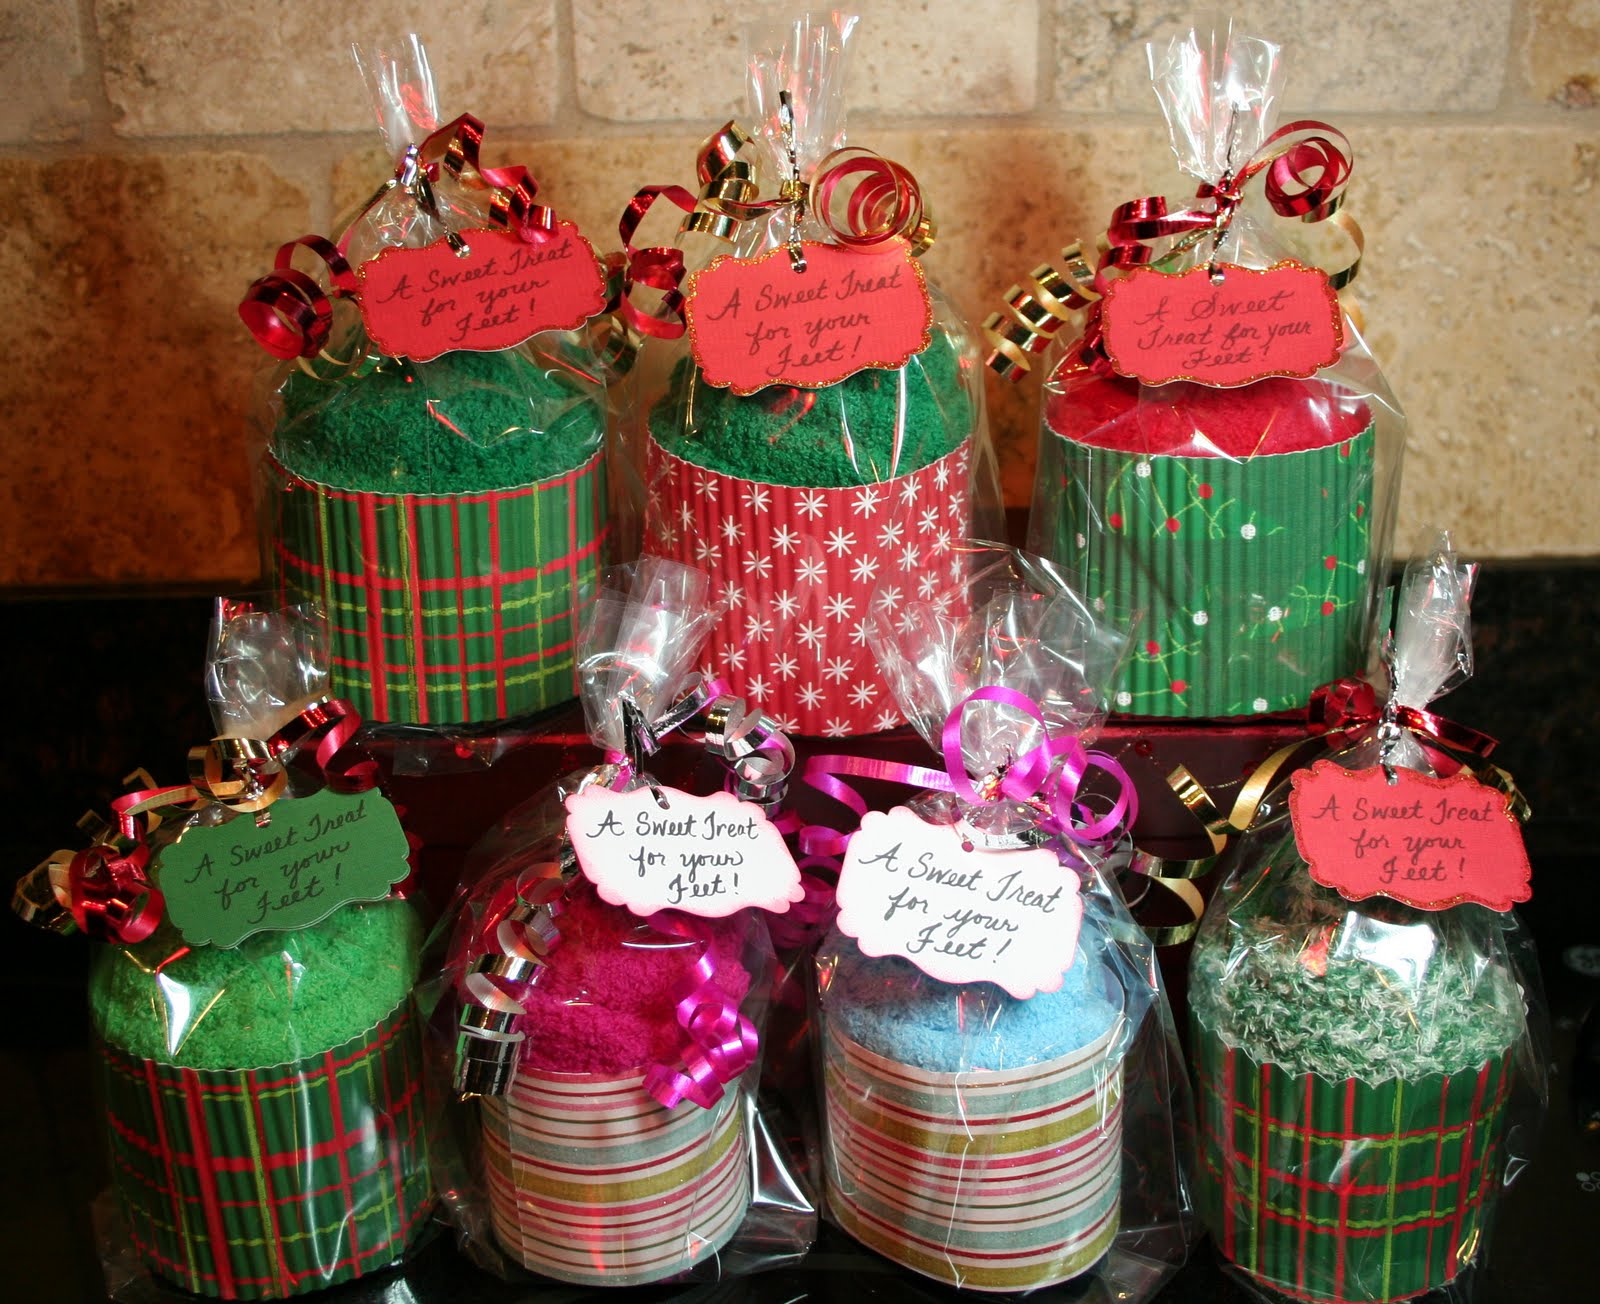
Here's a closeup of the bookmarks:

I taught these to the ladies in my CTMH Hostess Group and they loved them. These are definitely great teacher and friend gifts. The stickled-up butterflies are made from Martha Stewart punches. I then added CTMH Pearls (Z1336) for their bodies. the bottom border is punched with a MS border punch.

For some reason, we had a huge laugh when I said...."Now, you just need to stickle up your butterfly." It's now a running joke on our facebook pages..."hey, don't forget to stickle your butterfly" or "doesn't she know you don't have time cause you need to stickle your butterfly." I think we were just tired, LOL!

Thanks again for peeking back in and leaving me wonderful comments. I wish I had the time to do a card every day, but so far a card a week is working out well for me. I find participating in challenges helps get my creative juices flowing, so I think that's the route I'll be following for a little while.

Happy Wednesday and see ya back here soon!
Rosemary :)

Wednesday, January 19, 2011

CropStop Challenge #2 Add Some Stickles

First off I wanted to say a big "Thank You!" to the ladies at the CropStop Challenge Blog because they named my previously posted Valentine Card as a "Cream of the Crop" card. So now, I've got a little blinkie on my side bar....WOO HOO!

Now, here's my card for their second challenge which is to add some Stickles. I've got stickles all over the place on this card, and on my kitchen island, and on my hands and fingers, LOL! I used Tilda with Birdcage and colored her with Copics and chalk. I'm still building up my Copic supply so I've been trying chalk for my shading and I have to say I like it. It blends easily and chalk is way cheaper than Copics, that's for sure! (I use eyeshadow makeup sponges and unused lipgloss sticks that I got from ELF cosmetics).

My papers are from different companies. I can tell you the background floral dp and shiny dp with birds & ladybugs came from Autumn Leaves. The green dot dp came from DCWV Nana's Nursery Baby Boy. The dp for the butterflies came from my stash and they were cut out using my Martha Stewart punches. The edges of the red dp that's matted behind the colorful dp got a dose of stickles too, along with the flowers/roses and edges of the butterflies. Now you know why I had stickles everywhere. The red velvet ribbon is from Michaels. I hand wrote the sentiment.

I added stickles to the red areas of Tilda's clothes and her bow and also the little red covering on the birdcage. I cut the white mat behind Tilda with Spellbinders Nestabilities Classic Scalloped Ovals Large and embossed it with Cuttlebug Swiss Dots.

Here's a closeup of the flowers/roses:

The rolled rose was made by following Tracey Mason's tutorial here. I need more practice! The other flowers/roses are from Wild Orchid Crafts.

Here's a side view so you can see the dimension:

Hope you enjoyed my creation! I wanted to say a big "thank you" to everyone who leaves me comments. It's so encouraging to have fellow crafters say such nice and lovely things. It's makes me smile to read them all! And a big "thank you" to those of you that are now following my blog. My numbers are slowly increasing, woo hoo!

Hugs!

Rosemary :)

Wednesday, January 12, 2011

CropStop Challenge #1 Sketch with Dangling Tilda

One of my goals this year is to participate in more challenges and get more cards/projects done. I find my creative juices flow better when I'm a little under pressure and have a deadline to meet, haha!

As I was visiting blogs and online stores, I found out that the online store CropStop started a new challenge blog and their first challenge is a sketch challenge. Here's a picture of the sketch designed by Gloria Stengel:

Here's my take on her sketch (I flipped it sideways):

The bottom brown patterned paper is from DCWV Once Upon A Time pack. The cream paper is from CTMH and I used a background stamp from Inkadinkado for the writing (stamped twice next to each other). On the cream paper behind Tilda, I distressed the edges with Memento Rick Cocoa ink and used a small scroll stamp from CTMH Take a Picture stamp set. The brown polka dot paper and all the cardstock is from my stash. I distressed some of the paper edges with scissors. The pink heart brads are from The Paper Studio. The word LOVE is from CTMH Amore stamp set and heat embossed with ZING! Embossing Powder in Rose.

I used Dangling Tilda and Elegant Heart Ribbon from the Magnolia Raising the Ceiling 2010 Collection. I stamped the bow twice and raised the top bow with popdots. Then I put popdots behind Tilda, the bow, and the ribbon and raised the entire image to give it more dimension. I colored Tilda with Copics and most of the shading was done with chalks. I added star dust stickles to the lace areas of her shirt, lace on the basket, and the hearts.

I made the cone baskets in the corner of my card by punching out circles (1 7/16" punch) and then rolling the sides in to form the cone. I punched out a bunch of small hearts, shaded them with chalk, and covered them with stickles. I cut 3 triangles that fit inside my cones and glued hearts to the top of the triangles. Then all I had to do was insert the triangles, whew!

I had the really thin polka dot ribbon in my stash. It was a really light pink so I colored it with Copic R32. I attached the ribbon strips to the inside of the cones and then tied 3 little bows to go on the sides (and yes.....I almost got a finger cramp trying to get those suckers tied, LOL!).

Here's a side view so you can see the dimension:

Thanks for visiting! Hope to see you back here again soon!

Hugs!
Rosemary :)

Tuesday, January 11, 2011

Edwin Frames and Christmas at my Mom's

I've been MIA these past few weeks because we were visiting my mom in WA for the Christmas holiday, so I haven't been able to post anything. Where did the end of the year go? I still can't believe it's 2011 already. Let me tell ya, that last week before Christmas was a whirlwind for me. I was trying to finish up gifts for Isaiah's teachers and for the family. We have 4 family members with Dec. birthdays (including mine) and 3 friends. Nothing like waiting until the last minute! My husband always jokes about how I'm a huge procrastinator. But for some reason, my creative juices don't start flowing until I'm under pressure, LOL!

These were the last of the frames I made for Isaiah's teachers featuring Heartbreaker Edwin and Santa's Helper Edwin (you can read details on the frames, papers, flowers, etc. on the below posts....I used the same stuff). The flowers and poinsettias are from Prima and Recollections.

I also found an awesome tutorial for Fuzzy Sock Cupcakes here, so I made some to include with the frames for the teachers.

For Isaiah's classmates, I made Snowman Soup. The labels and ingredients for the snowman soup came from here. I soooooo wish I had the mini Snowy image from Magnolia....he would have been really cute on these packages! Next year though, he'll be on there!! I did include 2 mini candycanes in the "soup" mix, but you can't see them because they are on the backside of the package. My favorite find of the season was french vanilla snowman marshmallows...Yum!

Here are a few pictures of my mom's house. Her favorite holiday is Christmas...if you couldn't tell, haha. I'm always amazed at how she arranges all her decorations on her two trees and throughout the rooms of the house. Every year when I go home, I find she's added more to her collection. It always makes me smile to walk through her door during the holidays. The biggest bonus every year though is seeing my son's eyes light up....it's priceless. He gets so excited!

Santa in Entryway:

Staircase (at the top of the staircase is the snowman pictured above):

Carolers on the left side of formal living room:

Formal Living Room:

Christmas Tree in Family Room:

If you think the inside of her house is amazing, you should see the pics of her backyard that she landscaped with my dad's help. She designed it all and still maintains it all by herself (and she's in her 60s). I wish I had her green thumb. I can barely keep one plant alive....and let's not even talk about my flower beds, LOL!

I hope you had a great Christmas and I wish you all a fabulous and blessed new year!!

Love,
Rosemary :)